Flash Sale 70% Off
Give customers details about the banner image(s) or content on the template.
Write your store's popup content

Most people figure out how to layer necklaces the hard way. They buy three chains, put them on together, and by mid afternoon the whole thing has turned into a knot sitting near their collarbone. That's not bad luck. It's a length, clasp, and chain-construction problem, and once you understand what's actually happening at the metal level, layering stops being a daily fight.
This guide goes past the usual "just vary your lengths" advice. It gets into why chains tangle in the first place, what the actual millimeter difference between chain gauges means for how a stack sits, and how to tell gold-filled from vermeil from plated before you build a stack that's meant to last years, not weeks.
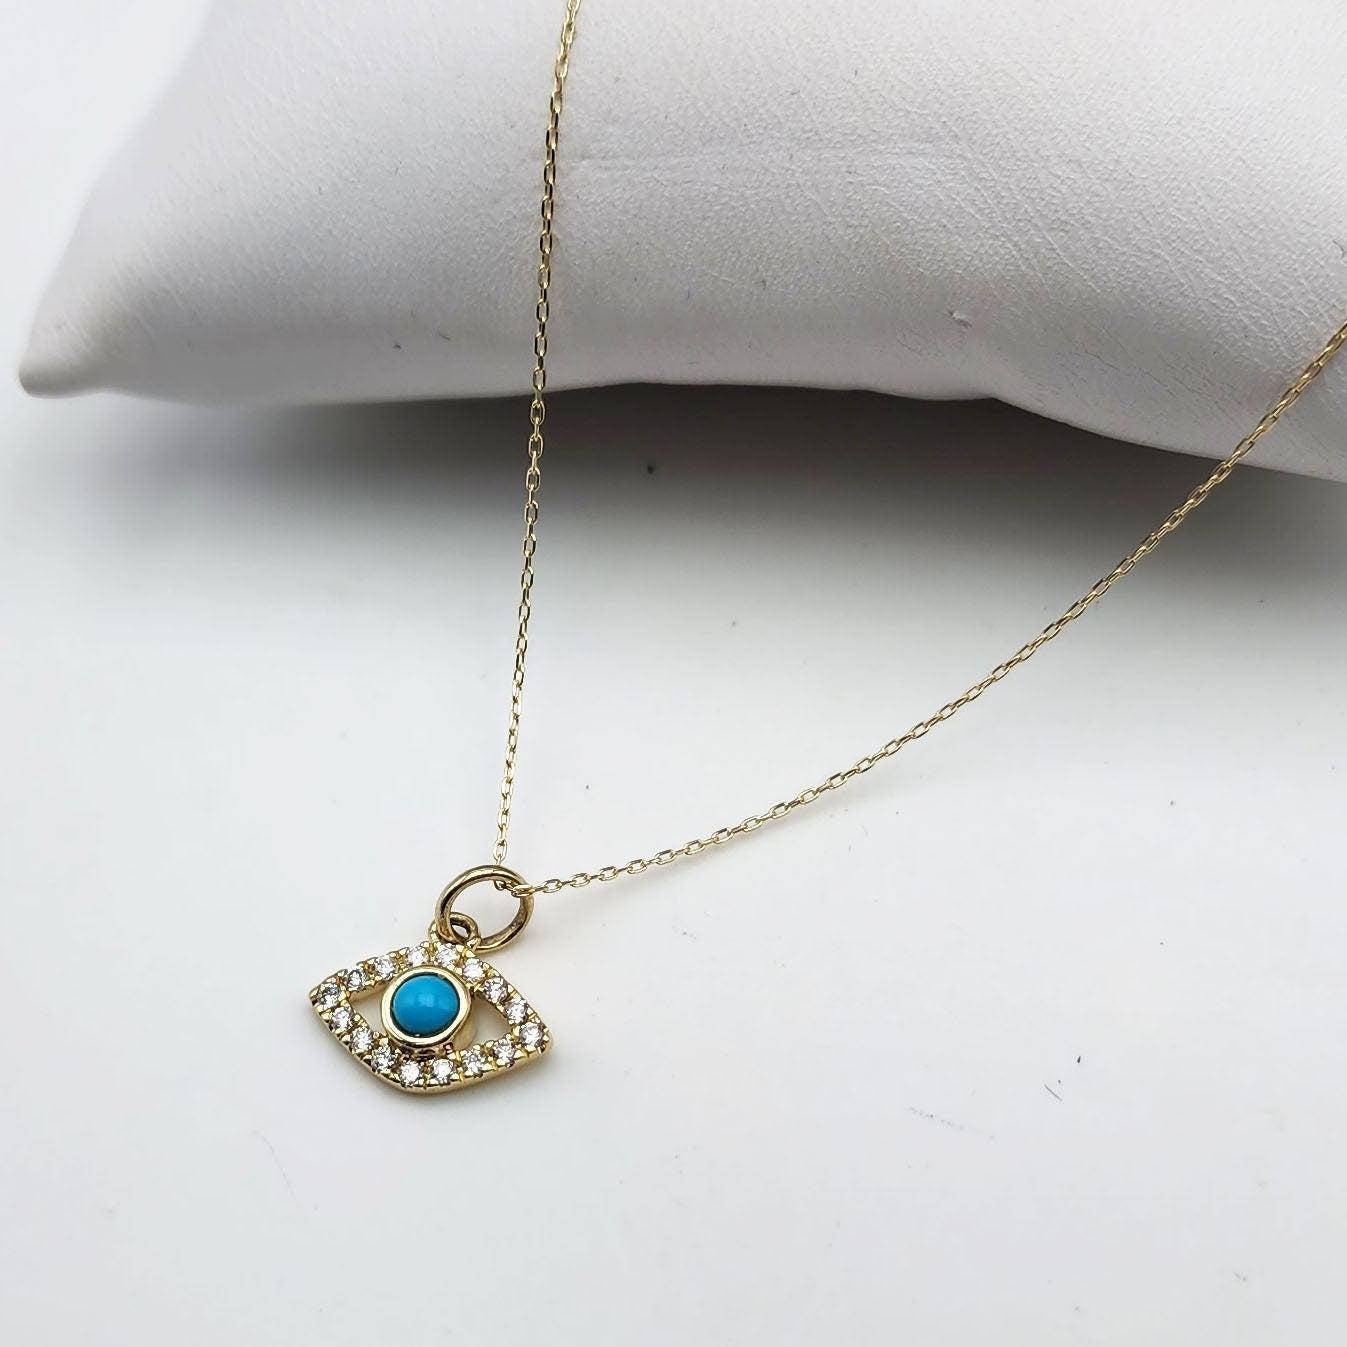


Necklace layering had its first real moment in the 1970s, disappeared through most of the minimalist 2000s, and came back hard around 2015. It hasn't really left since.
Part of that is practical. A single necklace can only do so much visually. A stack fills the space between the collarbone and neckline in a way one pendant never will, and it works whether you're in a blazer or a plain t-shirt.
The other part is construction. Jewelry brands started making chains specifically thin enough and light enough to layer, in the 0.8mm to 1.2mm range, which wasn't common in mass production before. That's a manufacturing shift as much as a fashion one.
This is the part most guides skip entirely, and it's the reason "just space them out" advice only gets you halfway there.
Fine chains, anything under 1.5mm in link width, have very little torsional resistance. That means they twist easily around anything nearby instead of hanging straight. Put two of them at similar lengths and they'll wrap around each other from body movement alone, no clasp issue required.
The second cause is the clasp and jump ring construction. A lot of budget chains use open jump rings, small rings that aren't fully soldered shut, as the connector between clasp and chain. These have a tiny gap, and that gap is exactly what catches on a neighboring chain's links. Soldered, closed jump rings don't have that gap, so they catch far less.
|
Do |
Don't |
|
Check for soldered jump rings before buying a layering piece |
Assume all chains are built the same |
|
Space lengths by at least 2 inches |
Layer two chains under 1.5mm at the same length |
|
Use a spring ring or lobster clasp, both close fully |
Rely on a hook clasp for daily layering |
If you've been blaming yourself for tangled necklaces, it's usually the chain, not the way you're wearing it.
The short version: start with the shortest chain, 14 to 16 inches, as the base. Add a second around 18 inches. Finish with something longer, 20 to 24 inches, especially if it carries a pendant.
Keep at least 2 inches between every length in the stack, and treat that as a hard minimum, not a suggestion. Two necklaces at 16 and 17 inches will tangle within an hour of normal movement, walking, sitting down, reaching for something on a shelf.
If it's your first stack, start with a plain chain in the 1mm to 1.5mm range. That thickness is delicate enough to layer under anything but sturdy enough that it won't kink or knot the way anything finer than 0.8mm tends to.
Also Read: Types of Necklace Chains: Complete Guide, Chart & Chain Styles
Two pieces is the easiest place to start, and it's genuinely where most people should begin regardless of experience.
Pair a choker-length piece, 14 to 15 inches, with something longer at 18 to 20 inches. That gap alone creates enough contrast to read as intentional.
Two rules keep this simple. Don't pair necklaces of nearly identical length. And pick one plain chain plus one with a pendant rather than two pendant pieces competing for the same visual space. A gold pendant necklace sitting just below a plain chain reads as styled. Two pendants at similar lengths just cancel each other out.
Three trips people up more than two, but it's actually more forgiving once the spacing and chain widths are right.
|
Layer |
Length |
Chain Width |
Style |
|
First |
14-16 inches |
1-1.5mm |
Plain chain or choker |
|
Second |
18 inches |
1.5-2mm |
Pendant or charm piece |
|
Third |
20-24 inches |
2-3mm |
Slightly bolder chain |
The part people miss is visual weight, not just length. If all three chains sit in the same 1mm range, the stack blurs into one line instead of reading as three separate pieces. Stepping the width up slightly with each added layer, not just the length, is what actually creates separation.
Necklace Length Chart
|
Length |
Common Name |
Sits At |
|
14-16 inches |
Choker |
Base of neck |
|
17-19 inches |
Princess |
Collarbone |
|
20-24 inches |
Matinee |
Above the bust |
|
28-36 inches |
Opera |
Below the bust |
|
36+ inches |
Rope |
Waist area |
These names come from actual jewelry trade terminology, not marketing labels, so they're useful when browsing or asking a jeweler for something specific.
Choker plus princess works under almost any outfit. Add a matinee length for evening wear or when you want the stack to be the actual focal point rather than a background detail.
A quick way to check your own numbers: wrap a soft tape measure or a piece of string around your neck where you want the choker to sit, then measure from there down to where you want each additional layer to land. Necks vary more than people expect, and a 15-inch choker that sits perfectly on one person can feel tight on another.
Not all gold is built the same way, and this matters more for layering than most guides mention.
14k gold-filled jewelry is made by pressure-bonding a solid layer of 14k gold, at least 5% of the total metal weight by federal standard, to a base metal core, usually brass. That bonded layer is thick enough to resist wearing through for years of daily contact.
Gold vermeil is different. It's sterling silver with a layer of gold plating on top, usually 2.5 microns or thicker to legally qualify as vermeil in the US. It looks similar at first but wears down faster with the kind of friction layering creates, chains rubbing against each other and against skin all day.
Plain gold plating is thinner still, sometimes under a micron, and it's the option most likely to show brassy or silver spots within months of regular layering.
For a stack you're building to wear daily rather than for a single occasion, gold-filled holds its color and finish longest. Vermeil works fine for pieces worn occasionally. Plated is the option to treat carefully, if at all, for anything touching skin every day.
A few more things that help visually: match metal purity where you can, so gold-filled pairs with gold-filled instead of mixing in plated pieces that will age differently. Vary chain style even when the color matches. Pair one polished chain with something textured so the stack has depth instead of reading flat.
Also Read: Gold Filled vs Gold Plated Jewelry: What's the Difference?
This is what separates a styled stack from a random pile of gold.
A cable chain is the classic simple link, good as a base layer since it's plain enough to pair with anything. Curb chains sit flatter and a bit chunkier, working well as a mid or top layer. Figaro chains alternate small and large links and add rhythm without being loud. Box chains are sleek and reflect light in small, even flashes rather than one continuous shine, which photographs well. Rope chains bring texture through their twist and work best as a statement bottom layer, usually starting around 2mm and up.
Don't mix more than two chain textures in one stack. Three starts to look cluttered, and the fine detail gets lost in photos anyway.
A pendant needs the right chain underneath it, not whatever's sitting closest in the drawer.
Small, delicate pendants like initials or tiny charms disappear on anything over 2mm. Pair those with fine cable or box chains, 1 to 1.5mm, so the pendant stays the visual focus instead of getting overshadowed by its own chain.
Bigger pendants, a coin piece or a larger charm, can handle a slightly heavier curb or figaro chain, closer to 2 to 2.5mm, without looking top heavy or thin by comparison.
If you own personalized necklaces, keep them as the shortest layer. That puts them closest to the collarbone, where they're most visible, rather than buried under two longer chains.
Neckline vs Necklace Guide
|
Neckline |
Best Layering Approach |
|
Crew neck |
Shorter lengths, 14-18 inches, since fabric covers most of the chest |
|
V-neck |
Follow the V with a matinee length, 20-24 inches |
|
Scoop neck |
Choker plus princess combo |
|
Turtleneck |
One longer piece, 24+ inches, worn over the fabric |
|
Off-shoulder |
Delicate chokers, avoid longer lengths |
|
Button-down shirt |
Layer inside the collar, kept on the shorter side |
A turtleneck is genuinely the easiest neckline to style since the collar already frames the necklace. One piece over the fabric does more work than a full three-piece stack would.
This is the most asked question in every jewelry forum, and it comes down to a handful of fixable habits rather than bad luck.
Keep at least 2 inches of length difference between every piece. Use a necklace layering clasp, a small connector, usually $10 to $15, that attaches to multiple chains at one point near the back so the strands can't wrap around each other independently. Store necklaces flat and separated, not tangled together in one jewelry box compartment. Put necklaces on last, after earrings and bracelets, right before walking out the door, since less handling means fewer chances to catch on clothing or other jewelry.
Fine chains layered directly against each other, both under 1.2mm, are the biggest offenders. So are chains with open jump rings, which catch on neighboring links almost every time they touch.
How to layer necklaces without them tangling when the chains are especially fine comes down to a few more fixes. Swap one thin chain for something in the 1.5 to 2mm range in the same stack. Add a clasp connector between two strands. Skip layering right before anything with heavy movement, a workout or a long walk, since motion causes most tangling in the first place, not the act of putting the necklaces on.
Static plays a bigger role than expected too, especially in dry weather or with synthetic fabrics. A small dab of hand lotion on the chains before wearing them cuts down on static-related tangling more than people assume.

This comes down to neck length, frame, and what's already sitting in someone's jewelry box, not just copying a photo.
Petite frames and shorter necks tend to look better with tighter combinations, choker plus princess, since anything past 20 inches can visually overwhelm a smaller neckline. Longer necks can handle the full choker, princess, matinee combo without it reading as busy.
Skin tone plays a smaller role than people assume in the actual metal choice. Warmer gold tones generally sit well against most skin tones, but at that point it's mostly personal preference rather than a strict rule.
Quick Checklist for Building a First Stack:
Measure your own neck before buying, since a standard 16-inch chain fits differently depending on neck size
Pick two or three lengths with at least 2 inches between each
Choose one plain chain, one textured, one pendant piece
Check chain width labels, aim for a step up in mm with each added layer
Try the full stack with the actual outfit you plan to wear it with, not just in a mirror alone
|
Do |
Don't |
|
Vary lengths by at least 2 inches |
Stack necklaces of the same length |
|
Step up chain width with each layer |
Use three identical thin chains together |
|
Match metal purity |
Mix gold-filled, plated, and silver with no plan |
|
Check for soldered jump rings before buying |
Assume every clasp closes fully |
|
Store necklaces flat and separate |
Toss the whole stack into one drawer |
The biggest mistake, honestly, is overthinking it before starting. Two well-chosen necklaces at different lengths and widths will look more put together than five random ones with no spacing or width variation between them.
Minimalist layering leans on fine chains, 0.8 to 1.2mm, with tiny pendants and subtle 2-inch gaps rather than bold statement pieces.
It works well for office settings or anyone who prefers jewelry that doesn't shout. The tradeoff is that fine chains this thin need more attention to the tangling fixes above, since they're the most prone to knotting of any width range.
Statement layering flips the formula. One bold piece, a curb chain over 3mm or a large pendant, does the talking. One thin chain underneath, 1 to 1.5mm, adds contrast without competing.
Stop at two pieces for statement stacks. Adding a third tends to visually cancel out the piece that was supposed to be the focal point in the first place.
Summer calls for lighter two-piece stacks, since skin is more exposed and heavier layers feel warm against bare skin. Fall and winter are when a third layer or a bolder pendant makes more sense, once sweaters and turtlenecks come back into rotation and give the stack somewhere to rest visually.
Layered stacks see more wear than a single necklace, simply because there's more metal in contact with skin and clothing all day, and more friction between chains rubbing against each other.
Take everything off before showering, swimming, or sleeping, since chlorine and salt water in particular can affect the surface finish over time. Wipe chains down with a soft cloth after wearing to clear lotion and perfume residue, both of which build up faster in a multi-chain stack than on a single piece. Store each piece flat and separated rather than knotted together in a drawer, and check clasps periodically for wear, especially on anything worn daily since a layering clasp takes on more strain than a single-chain clasp.
Gold-filled jewelry needs less maintenance than plated pieces for this kind of daily contact, but the same basic habits still stretch out how good any necklace looks over time, regardless of what it's made from.
Layering necklaces comes down to three things once the guesswork is stripped away: length gaps, a step up in chain width with each layer, and knowing the actual construction of the metal you're buying. Start with two pieces if this is new. Add a third once the neckline and chain widths that work for you are clear.
The pieces already sitting in a jewelry box are usually a better starting point than anything bought today. Build from there, and check the details, jump rings, chain width, gold construction, before adding the next piece.
How many necklaces can I layer at once?
Three works for most people. Beyond that it takes more planning around length, width, and chain type to avoid a cluttered look.
Can I layer gold and silver necklaces together?
Yes, mixed metal layering is common and looks good with some intention. Keep one metal dominant and use the other as an accent rather than splitting the stack evenly.
What length should my first necklace be?
A 16 to 18 inch chain in the 1 to 1.5mm range is the most versatile starting point and works as a base layer under nearly any length added later.
How do I stop necklaces from tangling while I sleep?
Take them off before bed and store them flat and separated. Sleeping in layered necklaces is one of the most common causes of overnight knots, especially with chains under 1.5mm.
Is it okay to shower with layered gold-filled necklaces?
Better not to. Gold-filled holds up well overall, but soap, shampoo, and hard water buildup will dull the shine over time, particularly where chains rub against each other.
What's the best necklace length for a choker look?
14 to 16 inches sits right at the base of the neck, though it's worth measuring your own neck first since fit varies more than the standard size suggests.
Can I layer necklaces with different pendant sizes?
Yes, and it usually looks better than matching sizes. Keep the smaller pendant on the shorter chain so it doesn't get overshadowed.
Why does my necklace stack look messy in photos?
Usually a length or width problem. Necklaces sitting too close in length, or chains of identical width, bunch together visually. Adding an inch of gap or stepping up the width fixes it more often than not.
Do necklace layering clasps actually work?
Yes. They physically keep each strand separated at one connection point near the clasp, which cuts down on tangling by a significant margin.
What chain thickness works best for everyday wear?
A cable or box chain around 1.2 to 1.5mm holds up to daily wear without feeling too delicate or too heavy.
Can I layer necklaces with a pendant on every chain?
You can, but two or more pendants close in length tend to compete for attention. One pendant piece per stack usually reads cleaner.
How do I layer necklaces for a wedding guest look?
A matinee length paired with a subtle pendant underneath a shorter plain chain works well for most wedding guest dress codes.
Should layered necklaces match my earrings?
Not exactly, but staying in the same metal tone keeps the whole look cohesive without needing to match piece for piece.
What's the difference between gold-filled and gold-plated for layering?
Gold-filled bonds a solid layer of gold, at least 5% of total metal weight, to a base core, so it holds color for years of daily layering. Plated pieces carry a much thinner surface layer, sometimes under a micron, and wear through faster under the friction layering creates.
Can petite frames wear three layered necklaces?
Yes, keep the lengths closer together, around 14, 16, and 18 inches, so the stack doesn't overwhelm a smaller neckline.
Share

Share information about your brand with your customers. Describe a product, make announcements, or welcome customers to your store.